Vehicle integration
The car looks finished. Now make it work in your game.
Take a beautiful 3D car into a small test track. Check its scale, wheels, driver, collision and camera, with practical lessons from StudiCraft’s Vesper and Spindrift projects.
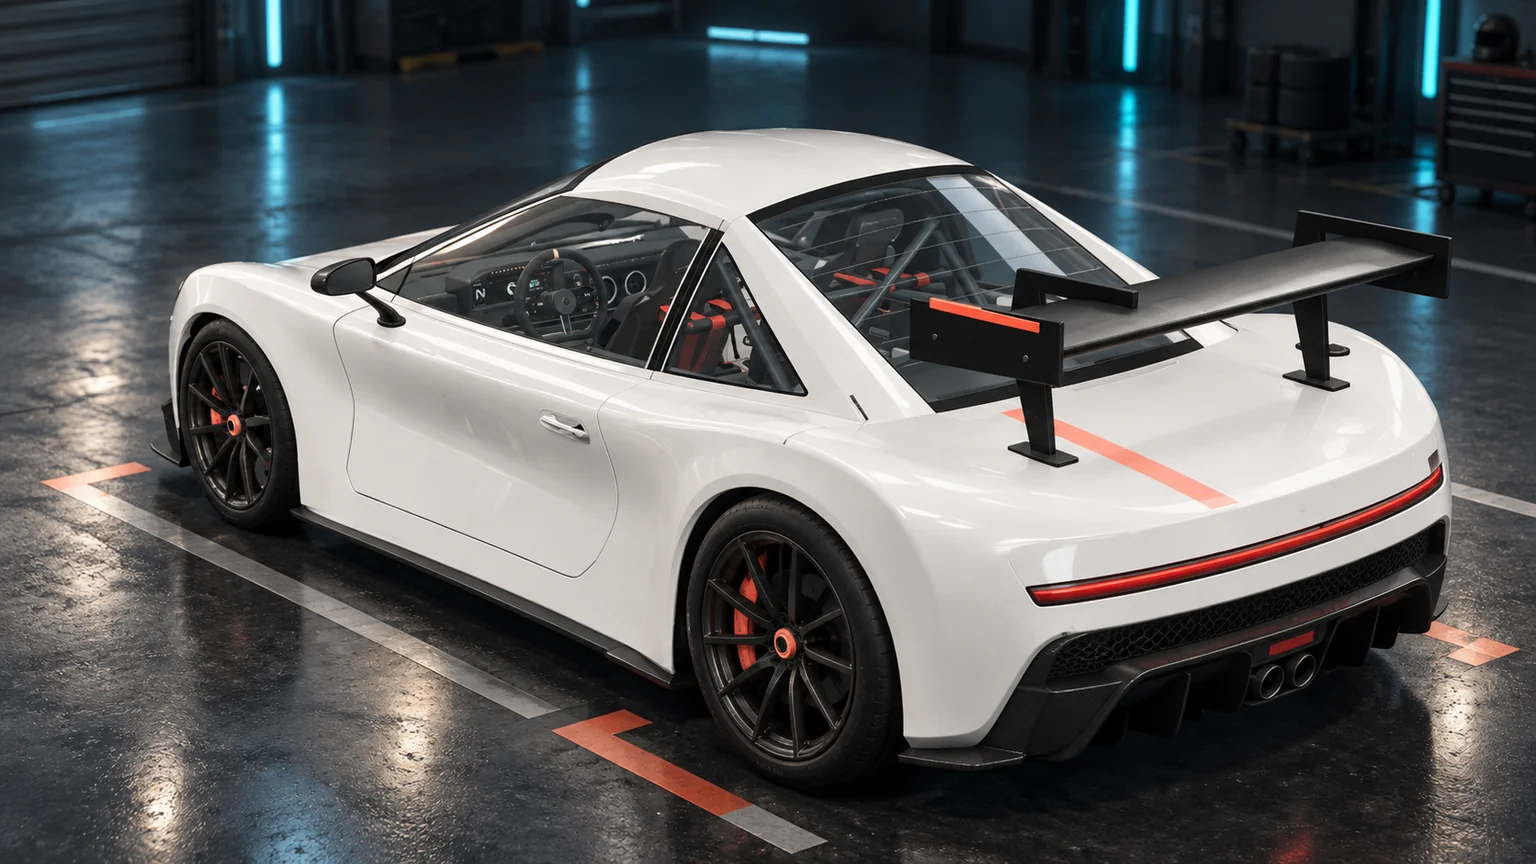
Test the exact file your game loads. Measure a known dimension, inspect the moving connections and camera, then drive and restart on a small, repeatable track.
Try the check in your gameThe car looks ready for a poster. The paint catches the light, the wheel arches have the right tension, and you can see the harness through the glass.
Then it enters the game. One wheel circles its axle like a moon. The driver sinks into the seat. The chase camera spends the first corner looking at a wall.
These are fixable problems, and you can find many of them before building a full circuit. Start with the actual file your game will load, a short test lane, and five checks: size, wheels, driver, collision and camera. StudiCraft’s Vesper GT3 and Spindrift RX work show why each deserves attention, even when the model already looks convincing.
Step inside the project
Explore Vesper GT3 in 3D.
Orbit the actual browser model. Inspect the silhouette, wheels and rear wing from the angles a player will see.
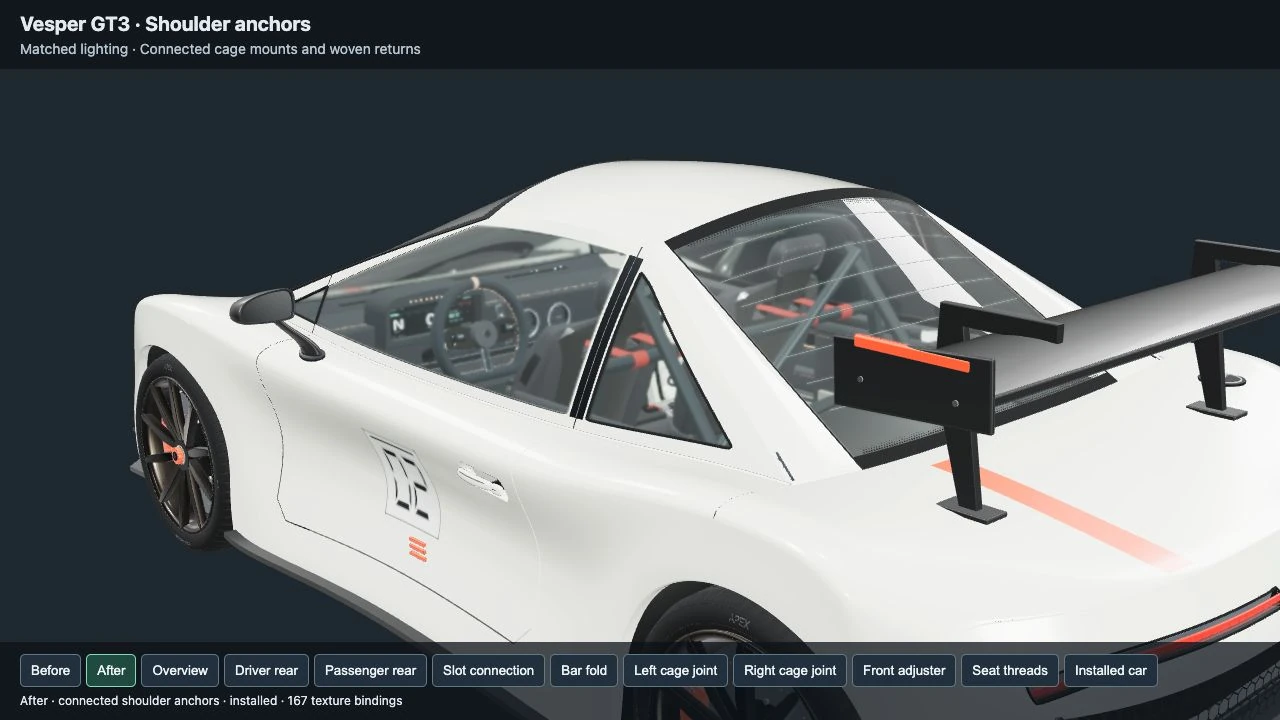
Check how the front wheels sit beneath the body and how clearly the car’s silhouette reads.
Drag to orbit. Scroll or pinch to zoom. With the view focused, use arrow keys to orbit, + / − to zoom, and Home to reset.
StudiCraft’s September 13 browser edition, with its original materials and simplified closed-body geometry. The detailed project captures in the article show a later revision. This view is for shape and scale, not mechanical validation. Explore more in 3DForge ↗
Know which version is on the track
A detailed vehicle project quickly accumulates versions: an editable master, a lightweight export, a new cabin, a mirror experiment. Similar filenames make it surprisingly easy to inspect one car and play another.
Keep a small import record beside the file. It should identify the asset revision, the intended units and dimensions, the file actually loaded, and the named points the game connects to. A content hash is useful when filenames are reused: it identifies the file’s bytes.
Here is a suggested record you can adapt. These field names are a working example, not a required file format:
| Record | Why you’ll want it later |
|---|---|
| Asset name, revision and runtime file | Confirms which export the game should load |
| Expected length, width and height | Catches an unexpected scale change |
| Up axis and tested forward direction | Helps align the model with its controller |
| Wheel, seat and camera attachment names | Keeps connections stable between revisions |
| Collision version and open issues | Shows what still needs checking in motion |
“Runtime file” simply means the version used during play. It may be simpler than the editable master. Keep their relationship clear so a change to one doesn’t get mistaken for a change to both.
Native Vesper review capture from September 16. The dated record gives this fictional asset’s overall bounds as approximately 4.215 m long, 2.232 m wide and 1.375 m high. These are model measurements, not a manufacturer’s specification.
You can orbit the Vesper in the interactive viewer. Its caption identifies the September 13 browser model, which differs from the later cabin revision pictured here. Use it to examine shape and scale; it has no driving physics. Keeping that distinction visible is part of a useful asset record.
Measure the car before moving the road
If an imported car looks enormous, widening the road may hide the first problem and create several new ones. Measure a dimension you already know.
A GLB is a binary container for glTF data. The glTF 2.0 specification uses metres and a right-handed coordinate system with Y up. Exporter transforms and your game controller still need to agree. Don’t assume a successful import proves the size or driving direction is correct.
For a simple worked example, place the reviewed Vesper in a hypothetical straight lane 3.2 m wide. Its rounded overall width is 2.232 m. That leaves 0.968 m in total, or 0.484 m per side when perfectly centered and aligned with the lane.
That’s a useful static check. It doesn’t establish clearance through a bend, mirror clearance against a wall or the space needed by the game’s collision shape. As the car turns, the space it occupies across the lane changes.
In Three.js, Box3 can measure a world-axis-aligned bounding box. Update transforms and use a known pose. A rotated car or an included helper object can enlarge the measured box. If the number surprises you, inspect what was measured before rescaling the whole model.
Keep the same pose for a later comparison. Otherwise a changed angle can look like changed dimensions.
Give every moving part a dependable connection
A pivot is the point around which a part rotates. An attachment point is a named position and orientation another system can use. You want the wheel controller to find the center of the wheel, and the driver to find the seat, without guessing from decorative geometry.
Start slowly enough to see the relationships:
| Part | First useful check | What a failure can look like |
|---|---|---|
| Vehicle origin | Turn the whole car in place | The body orbits an unexpected point |
| Wheels | Steer, then roll forward slowly | A wheel wobbles, orbits or rotates on the wrong axis |
| Driver | Inspect the seated pose from the side and cockpit | Hands miss the wheel or the head clips the roof |
| Collision shape | Approach a wall and a low surface change | The car stops before it appears to touch anything |
| Follow camera | Turn, reverse and pass a building | The road disappears or the camera enters geometry |
For wheels, separate steering, which changes their direction, from rolling, which turns the tire around its axle. Check each motion independently before combining them. A polished tire can conceal a bad pivot in a still image; a slow rotation makes it obvious.
Use a visible collision overlay during development if your engine supports one. The collider is the shape used to detect contact, and it may be much simpler than the body. What matters to the player is whether contact behaves consistently with what they can see.
After changing a tire radius, revisit ground contact and wheel-arch clearance. After lowering a seat, revisit the driver’s pose and cockpit view. A small art change can affect several connected parts.
Make the camera earn its place
The camera belongs in the first driving test. It determines whether the player can judge the road, see an obstacle and understand a collision.
Use a straight lane and a tight bend. Drive slowly into the bend, stop halfway, then reverse. Try a nearby wall or building. Watch the useful part of the road, not just whether the car stays centered in the image.
Pick a deliberate response to obstructions. Your game might bring the camera closer, move its target or use a different view. Test the transition as well as the settled position. A camera that abruptly jumps through the player can feel worse than the obstruction it was meant to solve.
Also try the actual screen shapes you intend to support. If the car fits beautifully in landscape but fills most of a portrait screen, the phone camera guide explains the framing tradeoff. Increasing the field of view is one possible change, with visible consequences for scale and perspective.
Put detail where the player will appreciate it
StudiCraft’s Spindrift RX mirror work is a good example of detail with a visible purpose. Curved housings, rolled rims, recessed glass and supports fitted against the doors make the mirrors read as assembled parts.
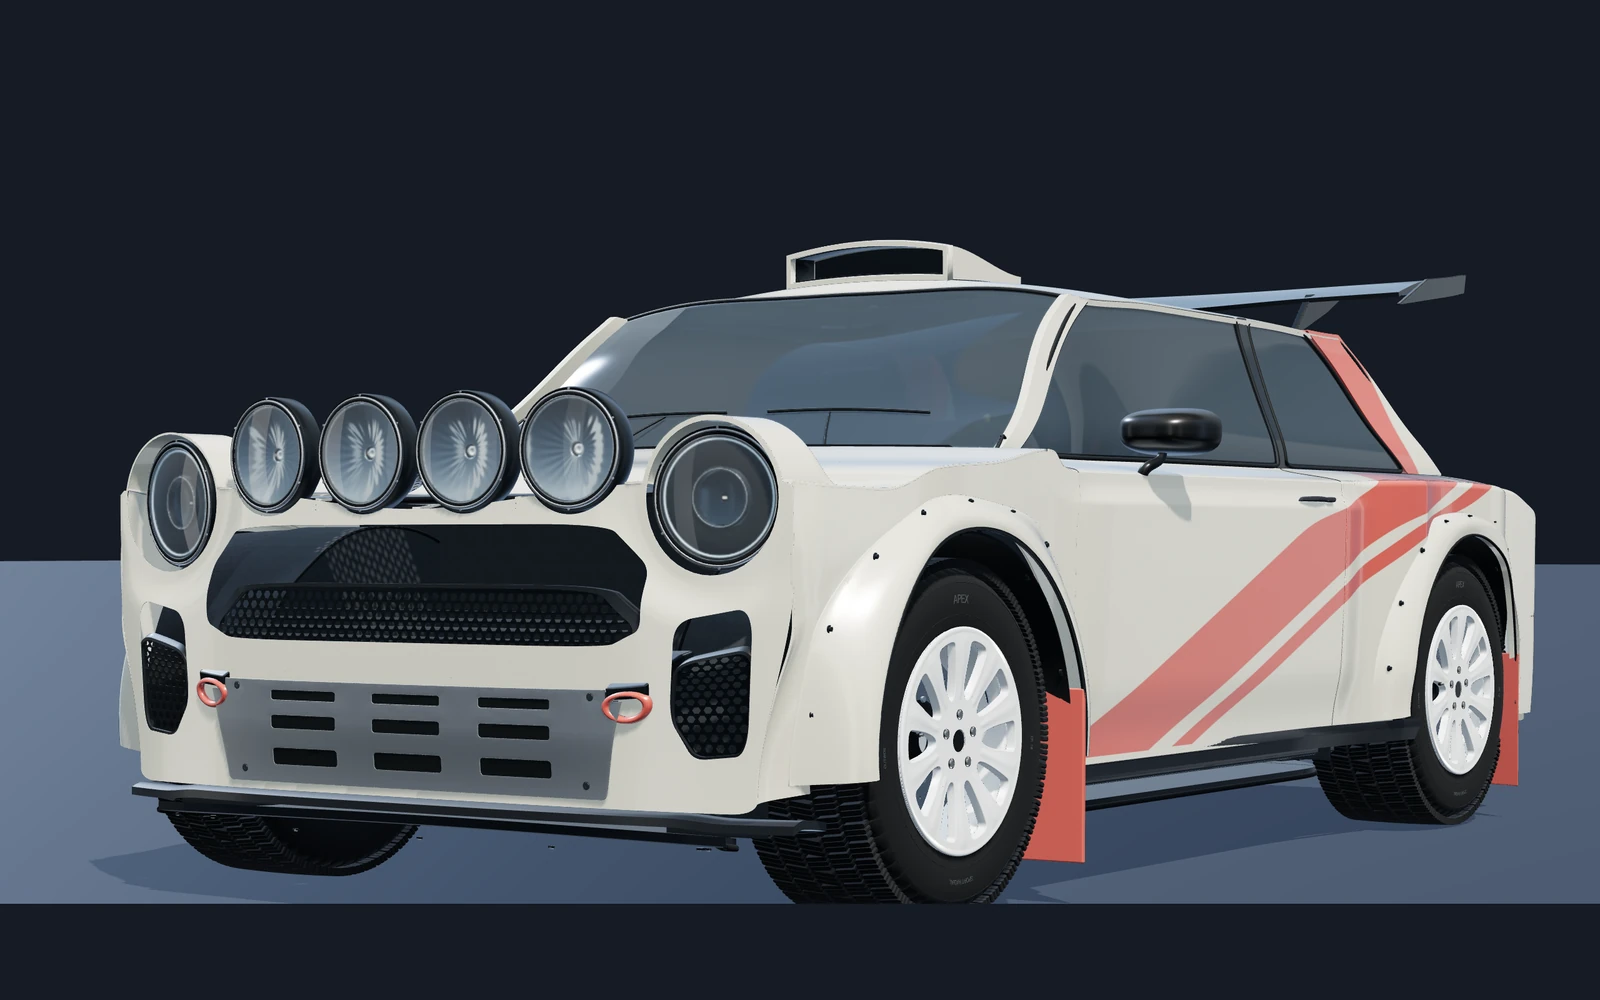
Spindrift RX, a separate vehicle from Vesper, in a native static review image from the September 30 work. The mirror refinement is a working draft; full reference matching and game performance remain unverified.
Ask where a player will see that work. A close inspection view may benefit from a shaped mirror interior. A distant chase view may reveal mainly its silhouette. A cockpit view asks different questions again, including whether the driver’s hands, straps and seat remain believable as things move.
Later Spindrift work gives an even more practical example. A rounded-tread candidate made the tire larger than the preceding checked shape, so it was rejected and adjusted to fit the previous envelope. The wheel positions stayed unchanged. That protects an existing connection while improving appearance, though tire deformation and full driving behavior still need their own checks.
A separate finish pass found that two dark marks on the intake were geometry intersecting the painted shell. Correcting the intersecting parts addressed the cause. Adding a more flattering material would have left it there. Both are later working drafts; the mirror image above records the earlier revision.
The earlier Vesper cabin review traced shoulder straps through seat slots to a cage crossbar. That established a visible route through the model while occupied harness fit remained open. It is a helpful reminder to inspect an assembly with the character in it, rather than deciding from an empty seat alone.
For a fair visual comparison, hold the camera, lighting and exposure still. A more flattering angle can disguise a weak connection. Then return to movement, where clipping, shifting highlights and distracting detail are easier to catch.
If you keep several levels of detail, decide when the game switches between them and inspect the transition from the playing camera. Keep the detailed master as the source for future revisions.
Keep download size and smooth play separate
A smaller compressed file is welcome when someone is waiting to play. Once decoded, it can still contain substantial geometry and texture work. Track the costs separately so an improvement in one area doesn’t become an unsupported claim about another.
| Measure | What it helps you understand | What it doesn’t prove alone |
|---|---|---|
| Transferred bytes | Download weight for that request | Time until the whole game is ready |
| Loading and preparation time | How long the asset takes to become usable | Smoothness during a race |
| Triangles, draw calls and textures | Part of the scene’s rendering workload | A device’s achieved frame rate |
| Frame times on a fixed route | Typical work and slow moments in that test | Performance on every device or track |
The dated Vesper shoulder-route revision added 74,608 unique triangles and about 1.53 MB to its compressed runtime file. The review did not claim a frame-time improvement. It named the added detail and its cost, leaving the complete game’s performance to be measured.
Measure with the driver, road, lights and interface present. Use the same device, camera route and quality settings. Separate first-load behavior from later laps, and record the slow moments as well as the typical frame time.
If you use Three.js’s WebGL renderer, check how renderer.info resets. By default it resets on each render call. Multiple passes in a frame need deliberate accounting if you want a whole-frame count. The counter still isn’t a frame-rate measurement.
When the result is too expensive, choose one candidate change: a simpler distant model, less texture resolution on a small part, or a cheaper effect. Compare the player’s view and the measurement again. Keep a change because it helps the game meet its goals, with the visual tradeoff understood.
Keep a modest test track beside the beautiful one
Give the test scene a straight, a tight bend, a wall, a low bump and a repeatable start. It doesn’t need a grandstand. It needs to make faults easy to reproduce.
Run three passes:
- At rest: confirm the loaded revision, measure a known dimension, and inspect wheels, driver and collider.
- At low speed: steer both ways, reverse, approach the wall and cross the bump. Watch the camera and the wheel-to-body relationship.
- Through a full attempt: load, drive, finish or fail, then restart. Check that the car and driver are ready before play begins and that the next attempt has clean state.
If something looks wrong, try this diagnostic order:
| Symptom | Inspect first |
|---|---|
| The car floats above the road | Collider height, wheel contact and visible tire radius |
| A wheel circles instead of spinning | Its pivot and local rotation axis |
| The car catches an invisible edge | Collision geometry against the visible body and track |
| An art change doesn’t appear | The actual loaded file and asset revision |
| A corner hides the road | Camera target, obstruction response and screen shape |
These are clues, not guaranteed diagnoses. Keep the failing situation small enough to repeat, then inspect the relevant relationship.
A useful handoff might read: “Runtime car revision 3, low-speed left turn, front tire touches the body at full steering. It should remain clear through the intended steering range. Repeats from the saved start on this build.” Add the actual device and a relevant view. That gives the next person, or your AI assistant, something specific to investigate.
Take the model back into the game
Our companion Neon Apex scene in 3DForge offers inspection and chase views for studying the vehicle in context. Its circuit motion is authored animation; tire forces are not simulated. You can also compare the recorded Neon Apex views and explore finishes in the material workspace.
Bring the useful idea back to your small track. Let the driver sit, the wheels turn and the camera follow. That’s where a beautiful asset starts finding its place in a game someone can play.
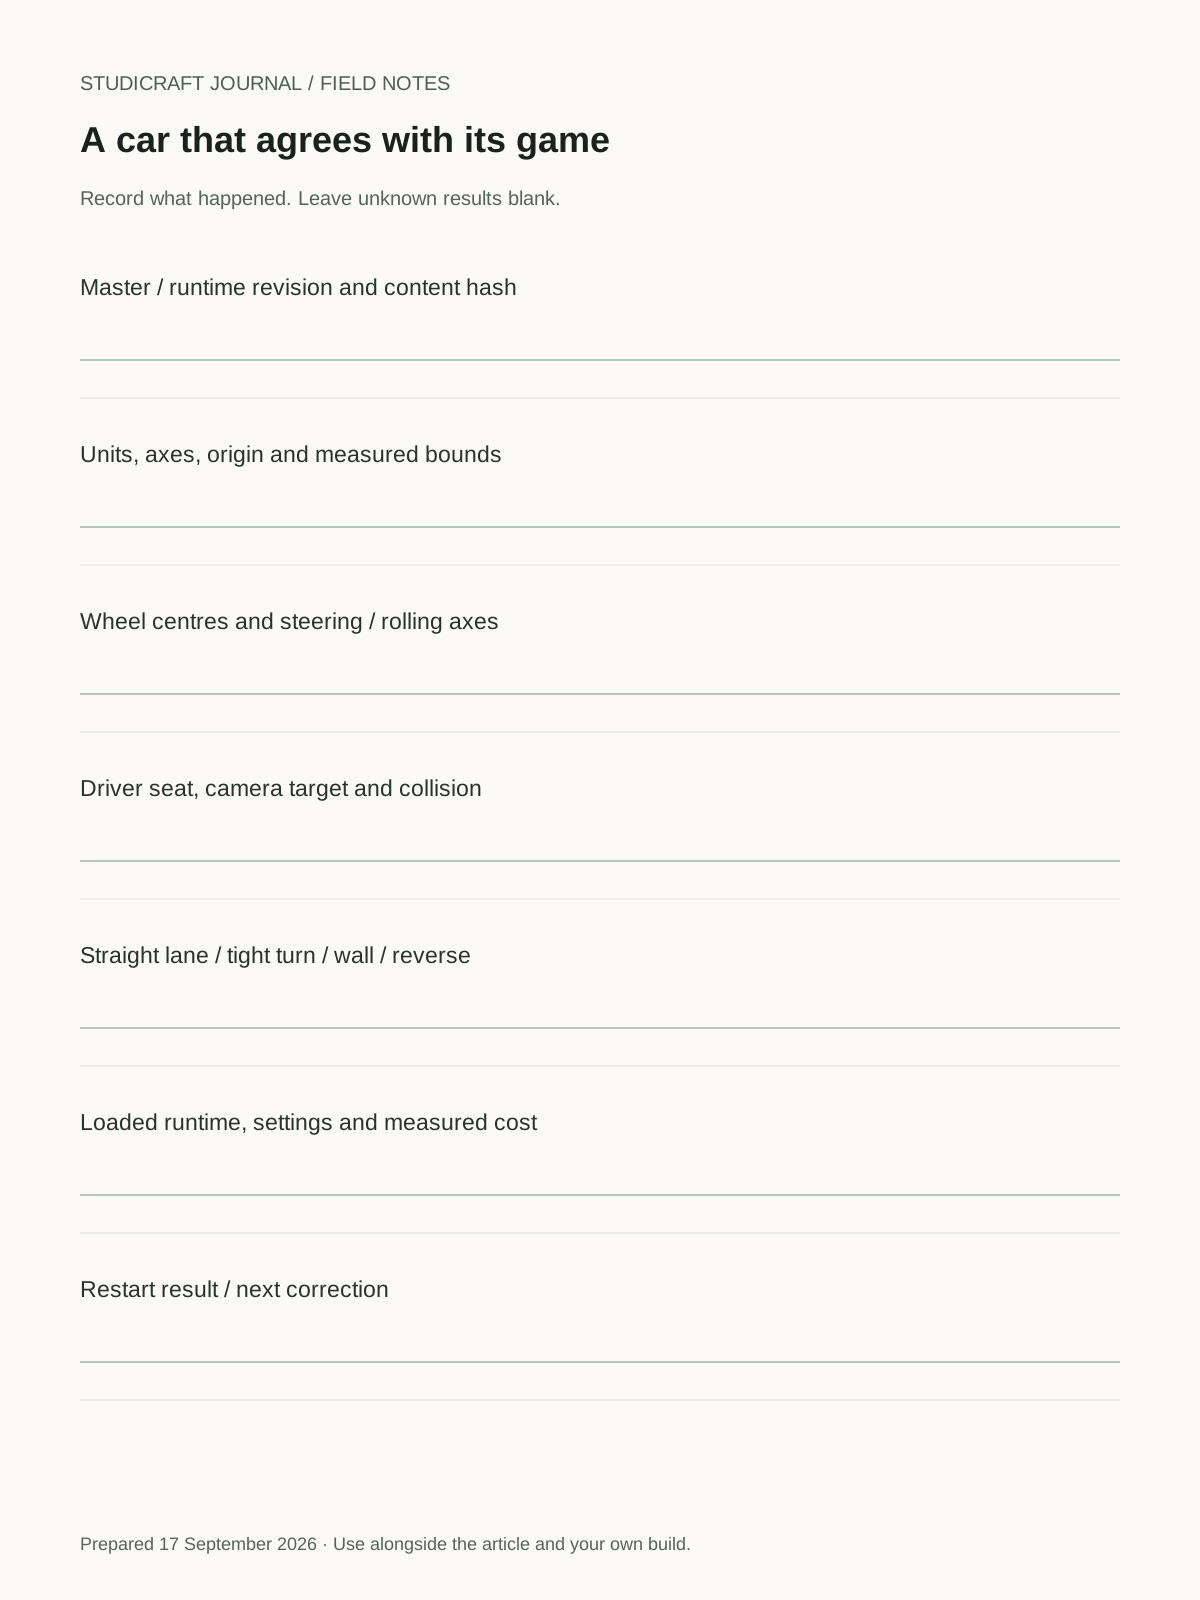
Open the vehicle integration brief, or download the printable vehicle worksheet. If the car works until the next attempt, continue with the restart guide.
Reviewed October 2, 2026. Project evidence, dimensions and research notes identify the dated asset revisions and the limits of each observation. The test lane and suggested checks are authored examples.
Sources and checks
References checked October 2, 2026. Planning examples are authored for the article.
- Khronos: glTF 2.0 specification ↗
Metre units and coordinate conventions. Vehicle bounds are from the dated Vesper record; the lane is a hypothetical example.
- Three.js: Box3 ↗
World-axis-aligned bounds require current transforms and are distinct from swept collision or tire clearance.
- Three.js: WebGLRenderer ↗
Renderer info counts, default reset behavior and multi-render-call accounting. Counts do not establish frame-rate performance.
- 3DForge: Neon Apex scene comparison ↗
Original artwork beside two recorded reconstruction views. This public showcase is a separate snapshot from the dated development capture in the article.
- 3DForge: Neon Apex 3D scene ↗
Public vehicle and city viewer with inspection and chase controls. Its circuit motion is authored animation, not a tire-force simulation. The public build is separate from the dated Vesper inspection.
- 3DForge: material library ↗
Surface previews for exploring finishes before testing a material on your own vehicle.
Keep the thought going.
Open the playtest brief ↗
AI game creation
Your first AI game: make it work on the second try
The bell rings, you hit Restart, and something breaks. Build a first playable with clear goals, dependable resets and a small test you can repeat.
Mobile game design
Why your 3D game feels wrong on a phone
Before making the jump easier, check what the player can see and reach. A practical guide to portrait cameras, touch controls and the slow frames that spoil a good route.